
Managing Workflows
Summary
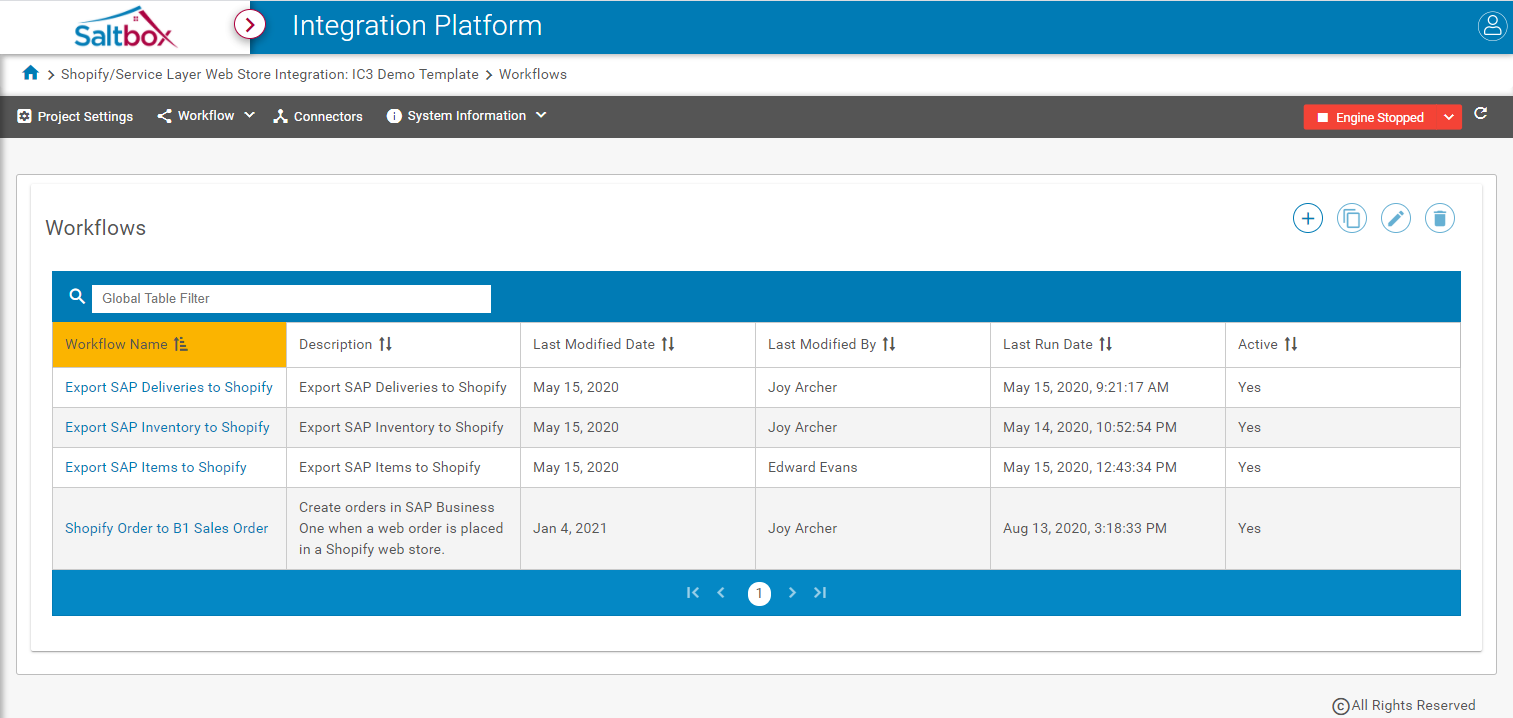
Workflows can be managed for a project by navigating to that project’s Workflow > Manage menu link, or by opening another project as shown in Step 1 below.
Step 1: Open the project environment
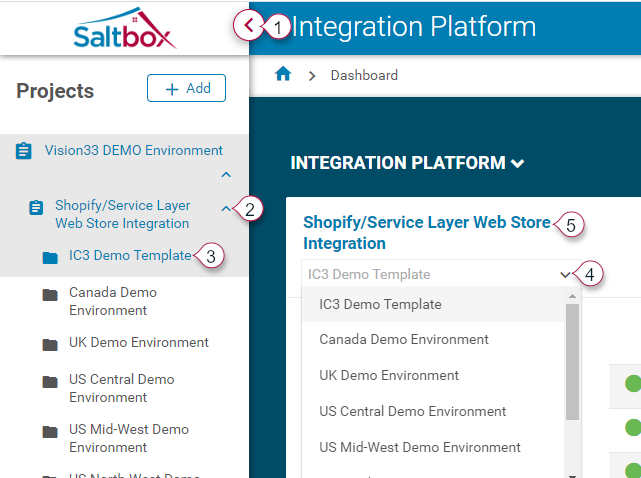
Use the left-hand menu, or drill down into environment from the Integrations dashboard.
Option 1 - Side Menu: Expand the side menu (marker 1 below) and expand the project (marker 2 below). Open the desired environment (3).
Option 2 - Dashboard: From the Dashboards landing page, select an environment (marker 4 below) and follow the project link (5) to open the selected environment.
Step 2: Manage workflows
Add a New Workflow
See Workflow Creation Walkthrough for details.
Delete a Workflow
-
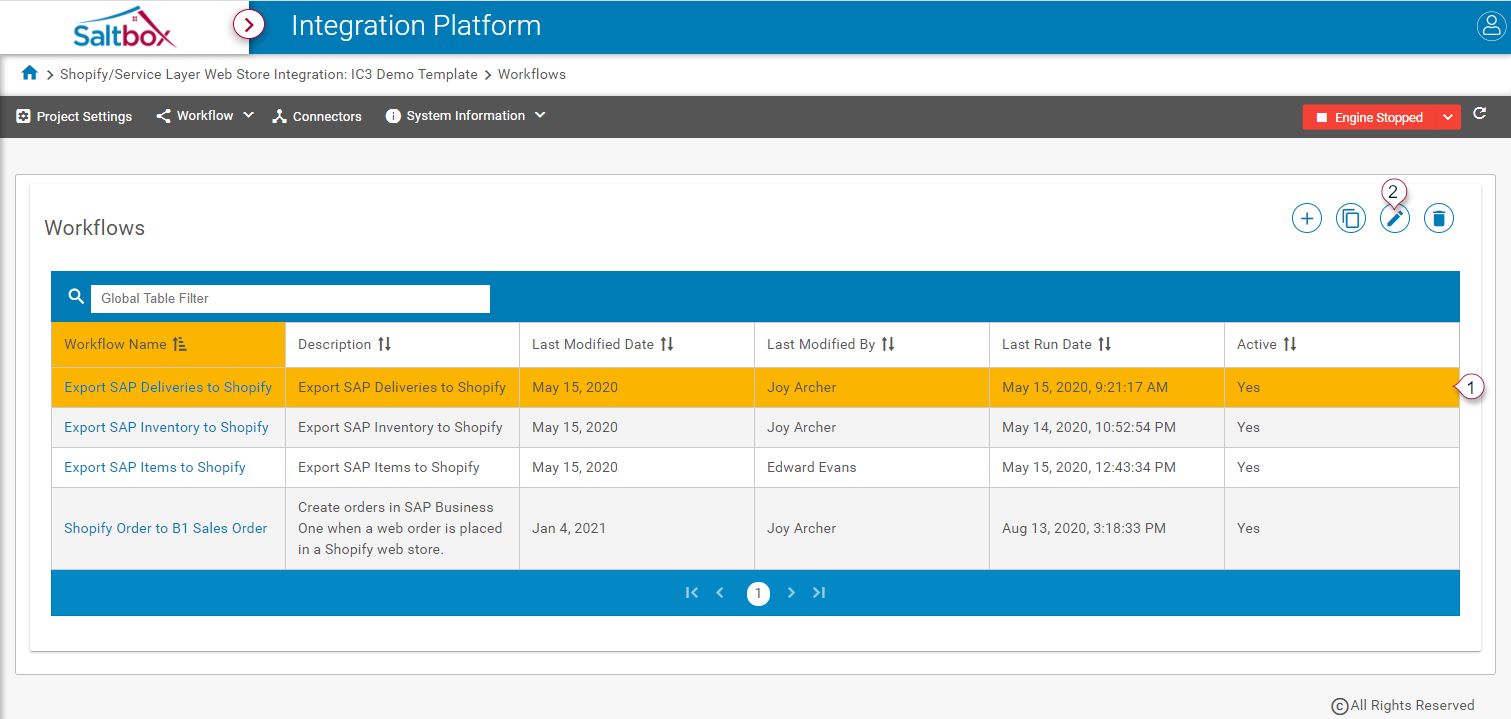
Select the workflow without clicking on the link (marker 1 below).

-
Press the Delete button (marker 2 above).
-
Wait for a confirmation message, or navigate to other pages while this action is completed.
Copy a Workflow
-
Select the workflow without clicking on the link (marker 1 below).

-
Press the Copy button (marker 2 above).
-
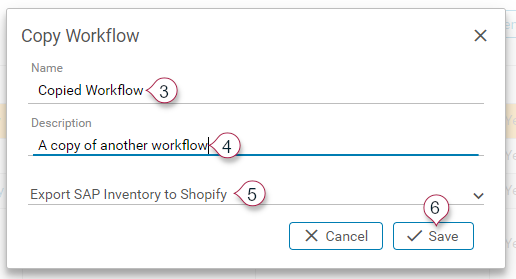
Fill in the details as prompted (markers 3, 4, 5 below).
-
Save (marker 6 above).
-
Wait for a confirmation message, or navigate to other pages while this action is completed.
Rename a Workflow
-
Select the workflow without clicking on the link marker 1 below).
-
Press the Rename button (marker 2 above)
-
Fill in the details as prompted (marker 3 below).
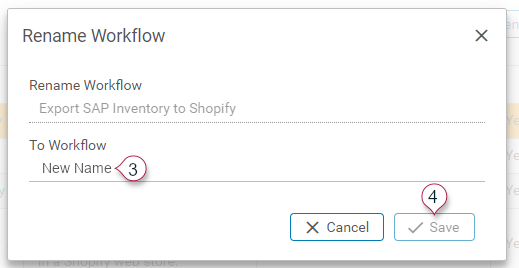
-
Save (marker 4 above).
-
Wait for a confirmation message, or navigate to other pages while this action is completed.
Reference Link
See Workflow Management Reference for background information.