Loading Data Samples into Visual Data Mapper
Visual Data Mapper uses Connector-supplied schemas, and user-supplied file samples to define the data that will be mapped. Select a Target schema, or load a data sample into both Target and Source using previous workflow executions, Workflow Tester, or file samples in xml or json format.
Step 1: Open the Visual Data Map
Visual Data Mapper is opened from an action within Workflow Designer.
See our step-by-step walkthrough: Opening a Visual Data Map.
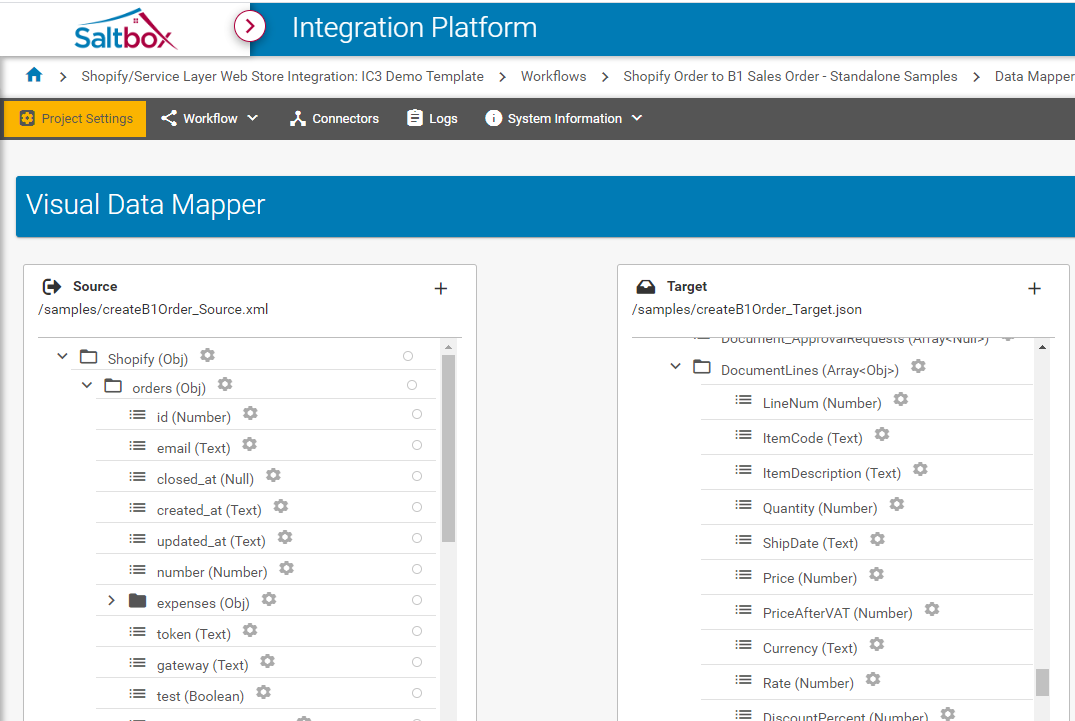
Step 2: Assign Source and Target data structures
Step 2.1: Define the Source using sample files
The Source describes the format of data that enters the mapping phase for an action.
-
Ensure data sample files are loaded into the workflow’s Samples folder.
Supported data file types include
jsonandxml, and may be generated within a third-party call to a REST API (such as Service Layer or Shopify) or by running through the workflow to generate xml data files within Saltbox. -
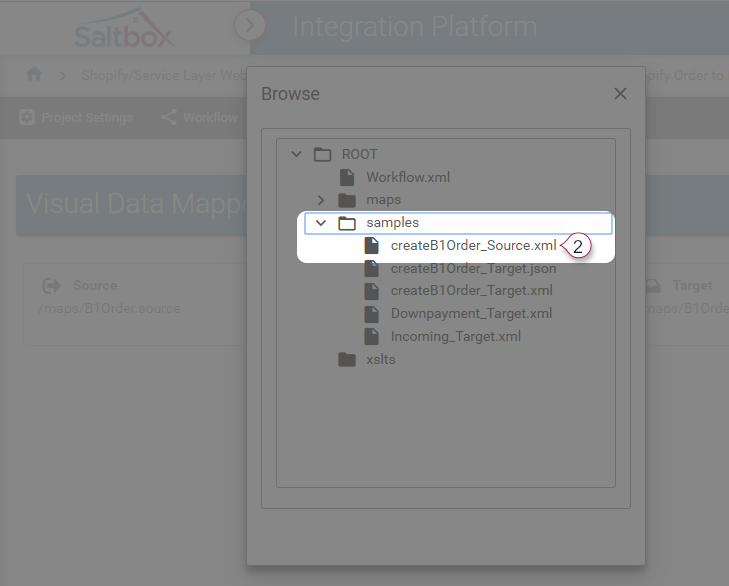
Use the Source “import data” button (marker 1 below).

-
Select the sample file as shown below.
Step 2.1: Define the Target using a Connector-provided schema or sample files
The Target describes the possible format for data that exits a workflow, and hosts the map settings for data that’s needed in the final mapped result.
Simply put, Target is the possible data structure, while mappings define the actual output data structure.
To define the Target using sample files, repeat the process above (step 2.1) for the Target.
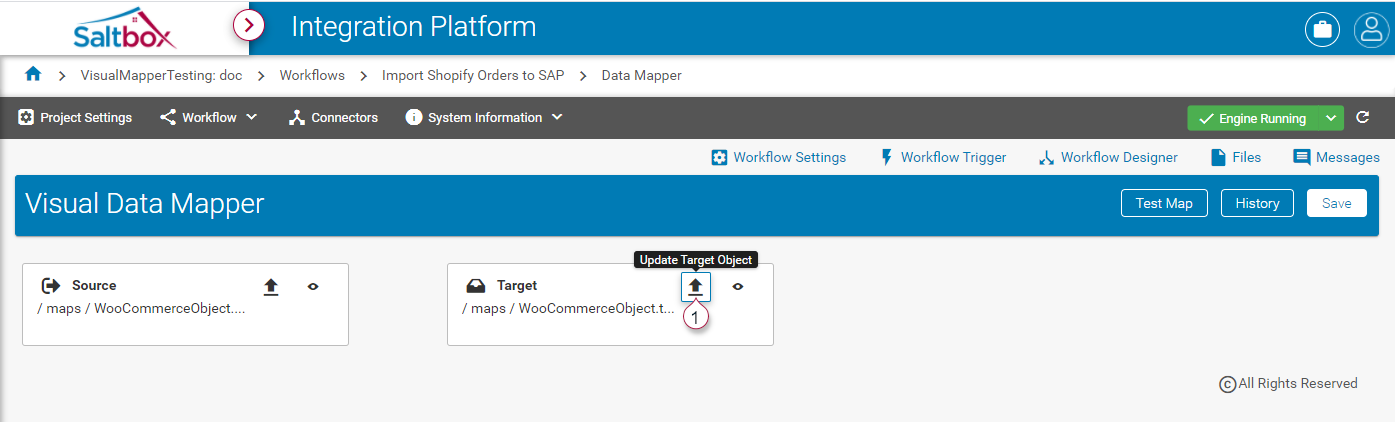
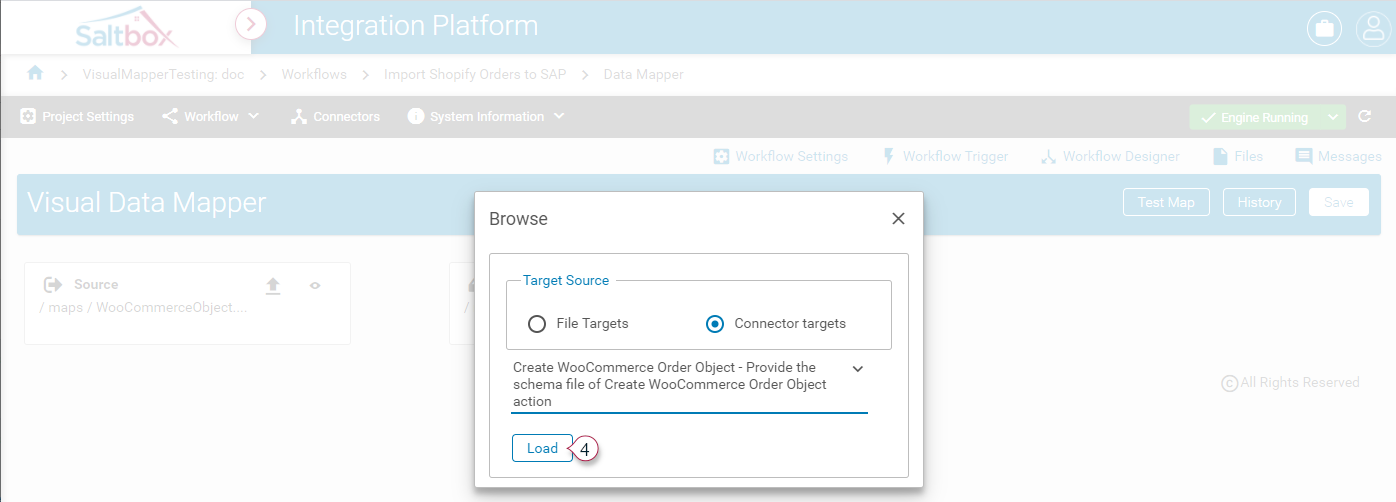
To define the Target using a Connector-provided schema:
-
Use the Target “import data” button (marker 1 below).
-
Select “Connector targets” (marker 2 below) to load available target options provided by a Connector.
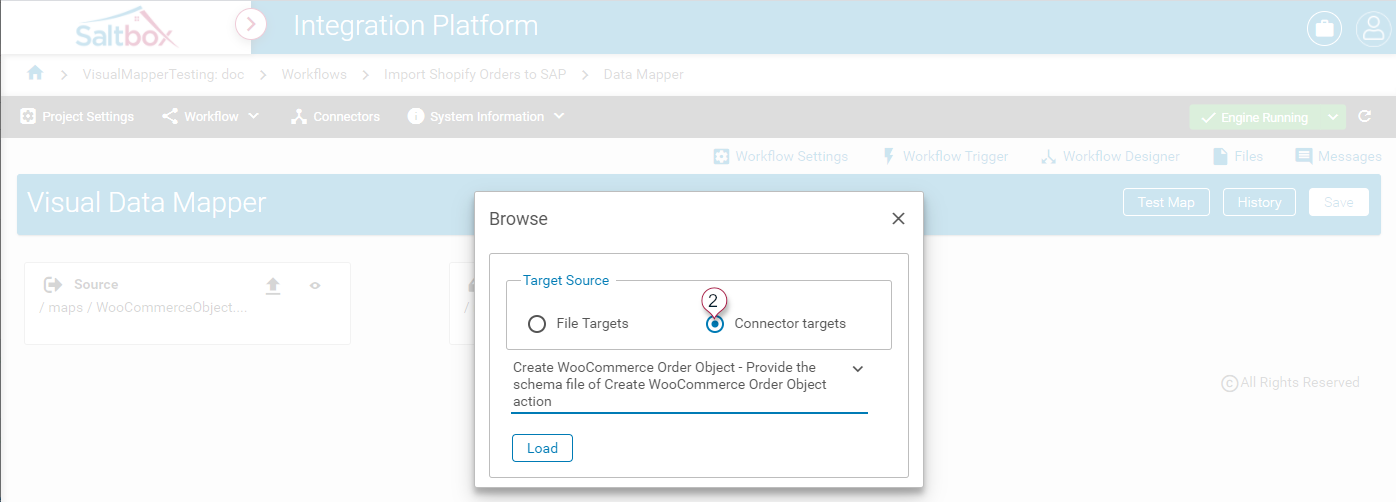
-
Select an available schema from the drop-down (marker 3 below). This list is based on the action that generated the map in the first place.

-
Press Load (marker 4 below) to apply the selected schema.
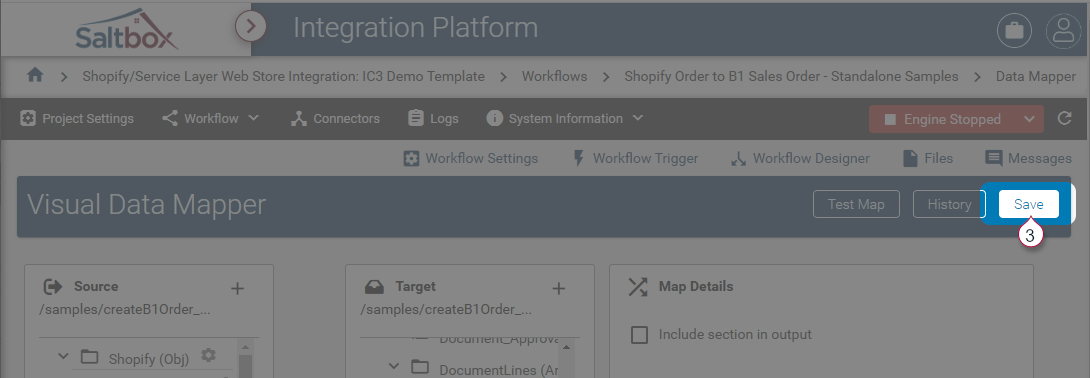
Step 3: Save updates
-
Save before proceeding. This will provide a restore-point in the workflow if mappings need to be rolled back.
-
At this point, the Source and Target data will be available for mapping. See Visual Data Mapper Overview for a walkthrough of how to apply mappings as well as a list of other Visual Data Mapper tutorials.
Targets using Connector-supplied schemas can be updated to include custom fields, UDF’s or other system-specific data. These types of changes are saved only to the current map. Other maps that use Connector-supplied schemas will not include custom fields.